Thursday, April 26, 2012

Bible Pages On the Wall


My sewing room has gone through many metamorphoses in the past seven years. Since I don’t have a lot of time this morning I think I’ll share just one photo: This is the way the wall in my sewing room looks now; it is covered with pages from bibles. After those pages went on the wall, I thought to also add some photos I had left over from another project.


Wednesday, April 25, 2012

Miracle Cornices

When we first moved into this house, there were no cornices on top of the two large windows in the main living area. The traverse rods were exposed for all to see!

That first summer (2005) I made myself a promise: I would find something to hide those traverse rods by fall....

Then one day, mid-summer, I left for work a little early so I could go to a yard sale. The yard sale was being held about 5 miles from our home, near a small town southwest of us. I figured I would have just enough time to check it out and still make it to work on time. As I got out of my car, then, and walked up the driveway, I spotted a very long cornice laying on the ground. It noticed it was birch - the same wood our kitchen cupboards are made from - and I noticed there was a white piece of paper taped to that long cornice. I also noticed another, shorter cornice laying on the ground, too, near the long cornice.
I figured the white paper was a price tag, and I figured, further, that even if the cornice was the right size for our largest window, the cost would be prohibitive. When I got close enough, though, what I saw astounded me: The taped-on price tag said FREE. I got out my tape measure, and discovered that the long cornice would just fit above the large window in our living room area. I looked askance at the smaller cornice; I knew it was nowhere near long enough for our other large window. But I told the lady, 'I'll take both cornices!' Of course I did! Now I had a problem: How would I get them home? I was running out of time, and didn't want someone else to grab those cornices before I could return with a truck to get them. So I called my husband. I have to add here that I had NO idea when I made that call where Bill was. He'd left the house that morning without telling me his plans for the day. 

Long story shortened: When I called Bill and asked him if he could help me get some cornices home, he told me he was in the neighborhood. That was part of the miracle, folks: I was at a yard sale in an area of the county where we seldom roam, and yet my husband was only a mile away from the yard sale when I called him to elicit his help. He soon pulled up to the yard sale in his truck and we hastily loaded the cornices into the back of it and I jumped in my car and raced off to work; I made it just in time. The next day, we attached the longest cornice above the window in our living room. Some days later, I tackled the task of lengthening the other, too-short cornice. I added 68" to it, with some plywood we had laying around, and then I 'stained' the plywood to match the other, birch cornice. 'Stained' is in quotes because, in the end, the only thing that would match the birch cornice was orange and yellow paint! If you look closely, you might be able to tell that the cornice in the dining area is not birch, and you might notice the seams I made in the lengthening process. But when I look at those cornices, I see miracle after miracle: The largest cornice fit with no adjustments needed; the cornices are made with the same wood as our kitchen cupboards; the wave detail along the edge mimics the trim on the board above our kitchen window; the cornices were FREE; and Bill was in the neighborhood so we could get our new cornices home. Oh, all this and I made it to work on time!

Tuesday, April 24, 2012

If Walls Could Talk: A Large Bank of Shelves

The people who had this house built could have added a third bedroom but instead opted to have more living space in the main part of the house. I think they got it right. I put an office area at the north side of the living room as soon as we moved our stuff into this house.

From the first time I saw it, the north wall of the living room screamed out to me, 'Put a bookshelf here, youse!' So eventually, that's what I did. 

 
When I proposed this idea to 'the hubs,' he was not enthusiastic. So I told him that if he would cut the wood and help me get the edge boards in place on the walls and ceiling and floor, I would take the project the rest of the way. The bookshelf soon started to take shape.

I fully expected Bill to jump in and help further, after the outer parts of the bookshelf were in place, but he kept his side of the bargain: He left me to it. 

Our son Allen jumped in to help me, though, and I am so glad he did. After all, I had never built such a thing before. The bookshelf is made of MDF, by the way.

I designed one side of the bookshelf to accommodate Bill's stuff, and the other side I designed for me - with room for my computer and such. 

I painted the bookshelf to match the color of the wall. I pre-painted the shelving to match the color I wanted to put on the rest of the wall. 
Painting those boards before I installed them saved me a lot of work. 

We eventually added beautiful old wood to the trim of the bookshelf. [Note: We have painted our walls many times since we moved in here. Our son Allen says we are making the rooms smaller with all those layers of paint!]

If the kitchen is the heart of our home, this bookshelf is the nerve center of our home!! 

Monday, April 23, 2012

Barn Wood Basement

After we made the mistake of painting over wallpaper in the kitchen with a water-based paint, bubbles covered the wall - lots of little bubbles pocked the painted surface of the walls. So I said to Bill, 'Maybe we could find an old barn that no one wants . . . . and cover that wall with barn wood.' It was a casual comment. Then, some days later, when Bill was driving us to the store, he turned the wrong way! Shortly after this wrong turn, he pointed off into the distance and said, 'Someone told me I could get that barn.' I looked and, sure enough, he was pointing to an old barn.....

Shortly after that, Bill told me he'd talked to the owner of that barn. As it turned out, the barn was going to be buried - that's right, buried - in a couple weeks, and Bill was given permission to take any barn wood he wanted before the barn was buried. He quickly went to work to get wood from that barn. 

One early Sunday morning, I awoke to the sound of a loud noise- a very loud, obnoxious sound. When I investigated, I found Bill planing wood on the driveway. This was the neighbors' first introduction to us, the terrible sound of that planer; the sound filled the otherwise quiet of a Sunday morning. We soon had a lot of barn wood in our garage. There was so much of it that we hastily changed our plans: We would cover the walls in the basement with that beautiful wood.....

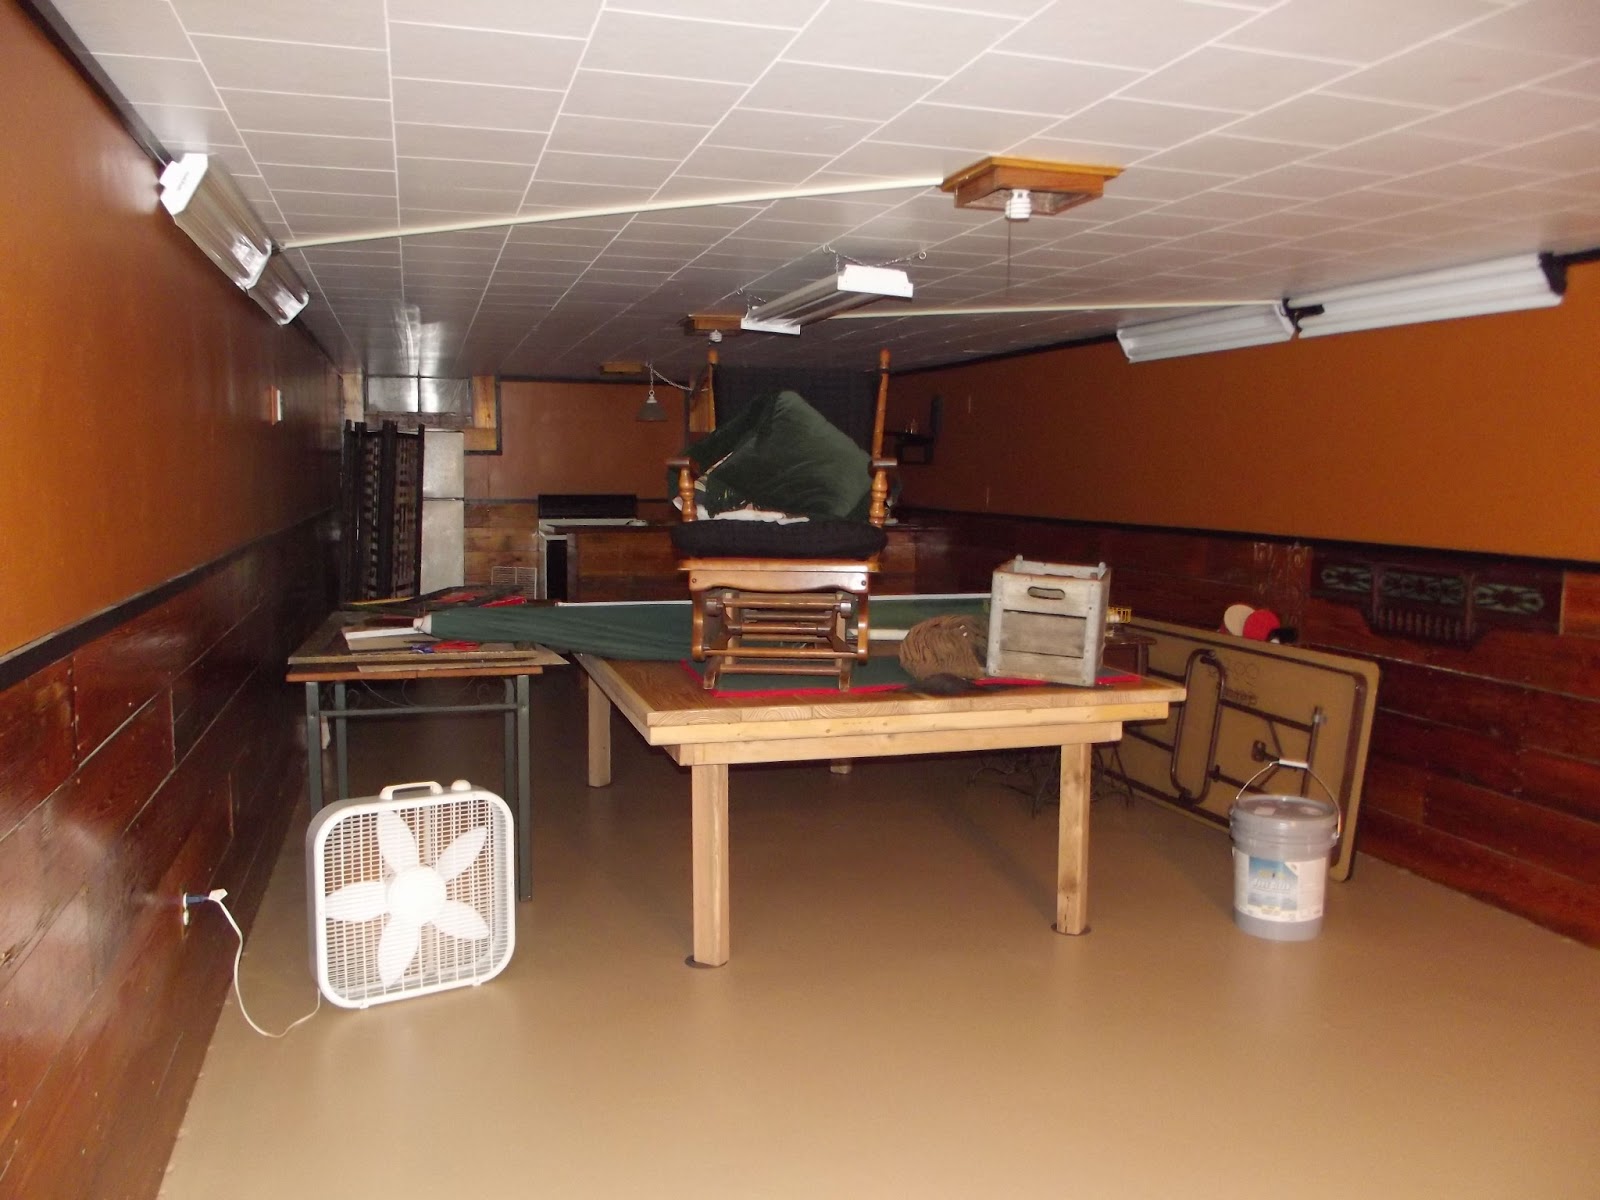
When we moved in here, the walls on the west side of the basement were covered with paneling. 

We decided to cover the bottom half of the paneling with barn wood. So Bill got to work. 
[A funny story: Bill used the ping pong table when cutting wood. One day I came home to find that he had cut off part of the table! The next day, when I heard the sound of a saw coming from the basement, I had a fleeting and funny thought occur to me, 'Oh, no! He's cutting off the other end of that table to match!' But he was really fixing the cut with some braces. We used that table for a long time with that scar in it.]

Following photos: The barn wood goes onto the wall


The wall has been painted various colors since the barn wood went in. Here are some random shots. We have a lot of fun, decorating and redecorating......


Below are some photos from a recent redo in the basement: March 2013


It would be a few years later that we finally put barn wood on the wall in the kitchen, the wall that started the whole barn wood thing at our house.
But before the wood finally  made it onto the kitchen wall with the bubbled wallpaper, I had to do something to cover those bubbles. Read about my solution by clicking on the link below. 
And to see what else we did with barn wood, click on this link....


Saturday, April 21, 2012

Boat Oar Trellising

When we needed trellising for my husband's berry vines, we used old boat oars. I have no idea where we got the oars; they were sitting around in the garage, so we put them to use!! 
Please note the rain barrels. There are two of them to the right in this photo, above. Bill set up a system whereby, when the first rain barrel gets full, the water pours into a second barrel! 


Friday, April 20, 2012

Wood Counter Top: Kitchen

Every time I choose a project to write about for this blog, I think, 'Oh, that was my favorite project!' And if all  the projects are my favorites, this is my VERY favorite! No, really! 

When we moved into this house, most things were functional and functioning but outdated. The counter tops were no exception. The kitchen counter top was gold-flecked yellow Formica. The speckles were worn off in spots, but the counter top served us well for about two years, till we could come up with something more comely....

Before we redid the counter top in the kitchen, I redid the back splash - with burlap and copper paint. 


When Bill planed boards from a barn someone gave him, he found some hard wood in with the pine that made up most of the barn. So he set those boards aside. We both wanted to find a project that would allow us to use and enjoy that beautiful, old hard wood. Then one day it occurred to me that we could cover the kitchen counter top with that hard wood. Before I presented the idea to my husband, though, I had to work out all the details; otherwise he would poo-poo the idea. 

One of Bill's protestations, when I presented the wooden counter top idea to him was, 'We'd have to pull out the sink!' I had an answer for that: Apply the wood up over the lip/edge of the sink. I was able to give him answers for all of his concerns, and the project was soon afoot. 

We filled the spaces between the boards with home-made putty: I mixed sawdust with wood glue. We glued and screwed the boards in place.

We eventually made trim boards in the same hard wood, using a router. The question we get from nearly everyone, when they first see our counter top is, 'What did you use to finish it?' Tung oil is my answer. It's a shellac that is non-toxic and easy to use. We add another layer of tung oil from time to time: we wash down the counter top and spread the tung oil on with a rag; it takes @ 8 hours to dry. 
This house has a full kitchen in the basement. We eventually used wood to redo the counter top in the basement. But that's another story for another day.
Hope all is well at your house. 'Bye for now.


Thursday, April 19, 2012

Burlap Back Splash

This house was built in the late 50's. The kitchen counter top and back splash reflected that: It was ugly yellow  and gold-flecked! It took some time to decide how to redo the counter top. In the meantime, I came up with a solution for the back splash: I covered it that area with burlap.  

First, I made paper templates of the sections of the back splash area. Bill used the templates to cut plywood. I covered the pieces of plywood with burlap. Then I sprayed the burlap-covered plywood with copper paint.

The plywood was then glued and nailed into place.

It would be a while before we redid the counter top, but at least the old, ugly back splash was GONE!

Here is a close-up of the back splash. For any skeptics out there, I would like to add this: The back splash looks as good today as it did when I installed it almost seven years ago....