Showing posts with label create. Show all posts

Saturday, May 12, 2012

A New Door? No Problem!!!

Our dining room has gone through a lot of changes in the past seven years. 
After we built a deck just off the dining room, I started to look for a door to replace the dining room window. 
I published an ad for the door on a local radio program, Tradio - a format that allows folks in our area to buy and sell things. I got a call from a man who had a door for sale and we went to check it out. We brought the door home and put it in the garage.
We took a break from big projects and did a smaller one: We shortened the dining room table; we would need the extra room a shorter table would provide, to get to the anticipated new door. We found a pedestal-style base at a yard sale, brought it home and painted it black. Then we removed the center insert of the old table and covered the old table [top] with barn wood, center. Voila! We now had a nice table - shorter, yes, but wider. 
Shortly after we got the door home and the table shortened, someone loaned us a masonry saw. That thing was HUGE! We picked a day to cut the hole in the house, and we were ready to go. 
After the window was removed, it was time to enlarge the hole to accommodate the new door. 
It was a very scary thing, watching the beautiful sandstone of this house being assaulted by a saw. I would have taken pictures but I couldn't muster the courage to watch the actual cutting!


The actual installation of the door straddled two days. 
Bright and early the second day of the installation, we removed the tarp we'd put over the hole the night before and got busy building a frame for the new door. We rallied the troops: our sons came by to lend a hand off and on throughout the day. 


By the end of that second day, we were able to start enjoying the newly-expanded view. 


The finish work would take another week - dry-walling, painting, re-installing the cornice and curtains, etc. 


In retrospect, I think it's a good thing I didn't know all the ins and outs of what this sort of project entails. I was, like, 'Hey! Let's put a door there!' It wasn't until after the thing was installed that I thought, 'This could have been a disaster!'


Friday, May 11, 2012

All Decked Out

I can't be sure about this, but I think that most people, when they want to do a project around the house, tallly what it will cost then go buy materials and begin the project. 
That's not the way it works in our household; we usually wait till the materials . . . . . materialize, then we make plans to use the materials for this or that. 
When someone gave Bill some wonderful hefty 2x10's last summer, we decided to use those boards to build a deck. Stakes for the new deck were soon in place, and the project was underway. 


The plan was to eventually put a door of some sort that would lead from the new deck into the dining room. So while the deck went up I put the word out that we were looking for a sliding glass door. The planning stage is always my favorite part of any project, so I had fun checking the prices of new doors and thinking about how I could avoid having to buy a new door. 

The deck was soon in place, and I did find a door - but that's another story for another day. 

And of course we'd need to add a tree to the landscape, too, eventually, for shade. I love the way one project feeds into another one. 

I love the whole process.

Oh, oh! I also began to formulate plans for incorporating the new deck into its environs......

Plants! We'd need more plants! A happy problem! Something to look forward to as the colder weather started to set in.

The new deck was in by the end of summer, 2011. 

Now it was time to start planning for that new door!
To be continued....
We eventually installed a sliding glass door - cut through the stone to add a door where the big window is in the photos above. To see more about the new door, please click this link:

Tuesday, May 8, 2012

Pass-Through

One day, oh, about 6 years ago, I was walking around in our kitchen trying to figure out something new I could do to that room. I first thought about moving the fridge against a different wall, but that wouldn't work, I decided, because there that would have put the fridge up against a baseboard heater. Then I thought about tearing down the wall between the kitchen and the living room, but I quickly discounted that idea because it would entail messing with electrical wires and such - plus that wall could be a load-bearing wall, I further opined. Then it hit me: We could put a pass-through on that one wall, the wall  between the kitchen and the living room. 

It's a good thing this pass-through idea was a good one because shortly after I suggested the idea to Bill I heard his reciprocating saw buzzing and went in to investigate and found a gaping hole in the wall!

He soon had that hole trimmed with beautiful barn wood, though, and I heaved a sigh of relief: That heretofore dark corner of the kitchen was transformed by the pass-through of light from the living room. 
Oh, and a bonus: People in the kitchen could now see into the living room. Cool! 
My Dad - one of our biggest cheerleaders in re to any remodeling we did - came to see us one day shortly after the pass-through went in, and he suggested we take pictures and use the pass-through as a sort of frame. So that's what we did. 


But this project was not over yet: I had the idea to add some gingerbread at the top of the new opening. After I came up with a pattern, Bill insisted that there was NO WAY he could cut such an intricate pattern in hard wood.
The next day when I got home from work, Bill presented me with a gift: He'd rough-cut the design in wood, and it was lovely.

Now it was my turn to do some work: I got busy with my rotary tool, shaping and smoothing tho rough-cut edges of the trim. 

Why, there's Dear Bill, coating the pass-through with polyurethane.....

Eventually this wall would be covered with barn wood - our intention for that wall all along - but that's another story for another day. 

Bye for now.
Susan


Monday, April 23, 2012

Barn Wood Basement

After we made the mistake of painting over wallpaper in the kitchen with a water-based paint, bubbles covered the wall - lots of little bubbles pocked the painted surface of the walls. So I said to Bill, 'Maybe we could find an old barn that no one wants . . . . and cover that wall with barn wood.' It was a casual comment. Then, some days later, when Bill was driving us to the store, he turned the wrong way! Shortly after this wrong turn, he pointed off into the distance and said, 'Someone told me I could get that barn.' I looked and, sure enough, he was pointing to an old barn.....

Shortly after that, Bill told me he'd talked to the owner of that barn. As it turned out, the barn was going to be buried - that's right, buried - in a couple weeks, and Bill was given permission to take any barn wood he wanted before the barn was buried. He quickly went to work to get wood from that barn. 

One early Sunday morning, I awoke to the sound of a loud noise- a very loud, obnoxious sound. When I investigated, I found Bill planing wood on the driveway. This was the neighbors' first introduction to us, the terrible sound of that planer; the sound filled the otherwise quiet of a Sunday morning. We soon had a lot of barn wood in our garage. There was so much of it that we hastily changed our plans: We would cover the walls in the basement with that beautiful wood.....

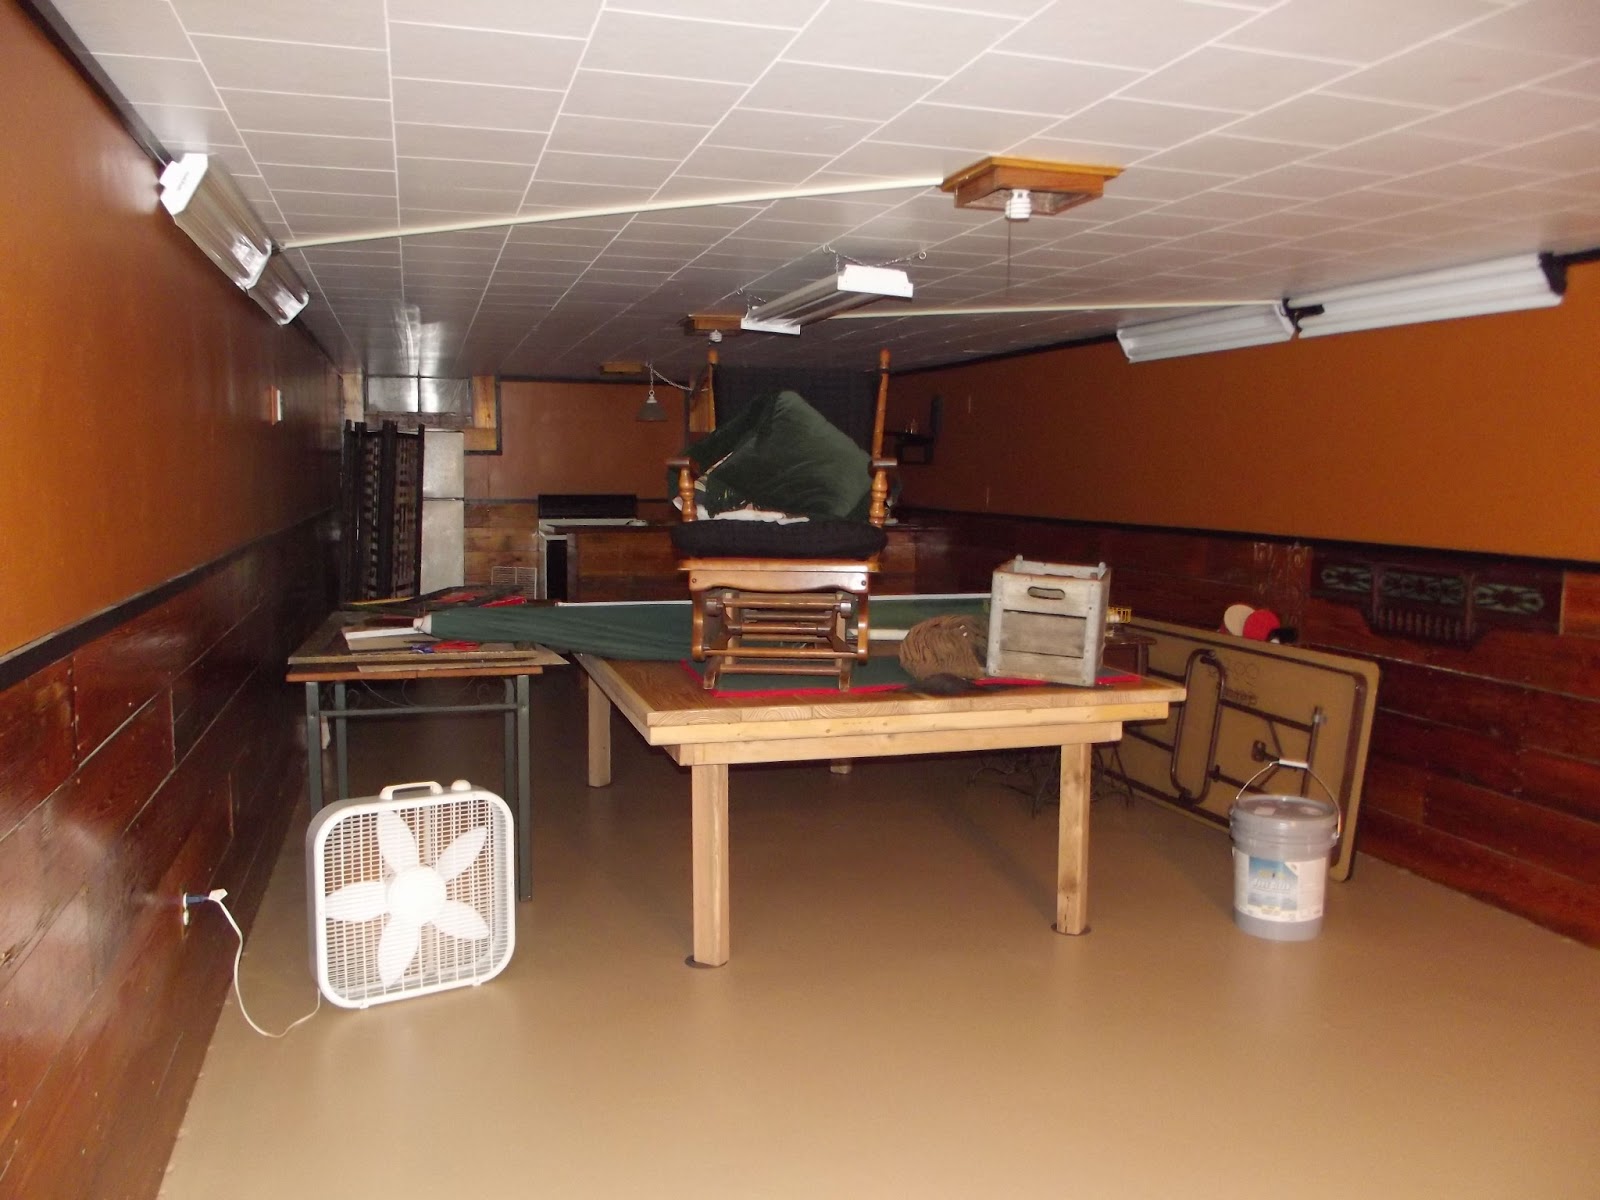
When we moved in here, the walls on the west side of the basement were covered with paneling. 

We decided to cover the bottom half of the paneling with barn wood. So Bill got to work. 
[A funny story: Bill used the ping pong table when cutting wood. One day I came home to find that he had cut off part of the table! The next day, when I heard the sound of a saw coming from the basement, I had a fleeting and funny thought occur to me, 'Oh, no! He's cutting off the other end of that table to match!' But he was really fixing the cut with some braces. We used that table for a long time with that scar in it.]

Following photos: The barn wood goes onto the wall


The wall has been painted various colors since the barn wood went in. Here are some random shots. We have a lot of fun, decorating and redecorating......


Below are some photos from a recent redo in the basement: March 2013


It would be a few years later that we finally put barn wood on the wall in the kitchen, the wall that started the whole barn wood thing at our house.
But before the wood finally  made it onto the kitchen wall with the bubbled wallpaper, I had to do something to cover those bubbles. Read about my solution by clicking on the link below. 
And to see what else we did with barn wood, click on this link....