Showing posts with label basement. Show all posts

Saturday, March 16, 2013

And Sew Forth: My Sewing Room

When we first moved here at the tail end of 2004, the walls of the east side of the two-room basement were green. That's my brother Mike helping Bill put together a satellite dish.
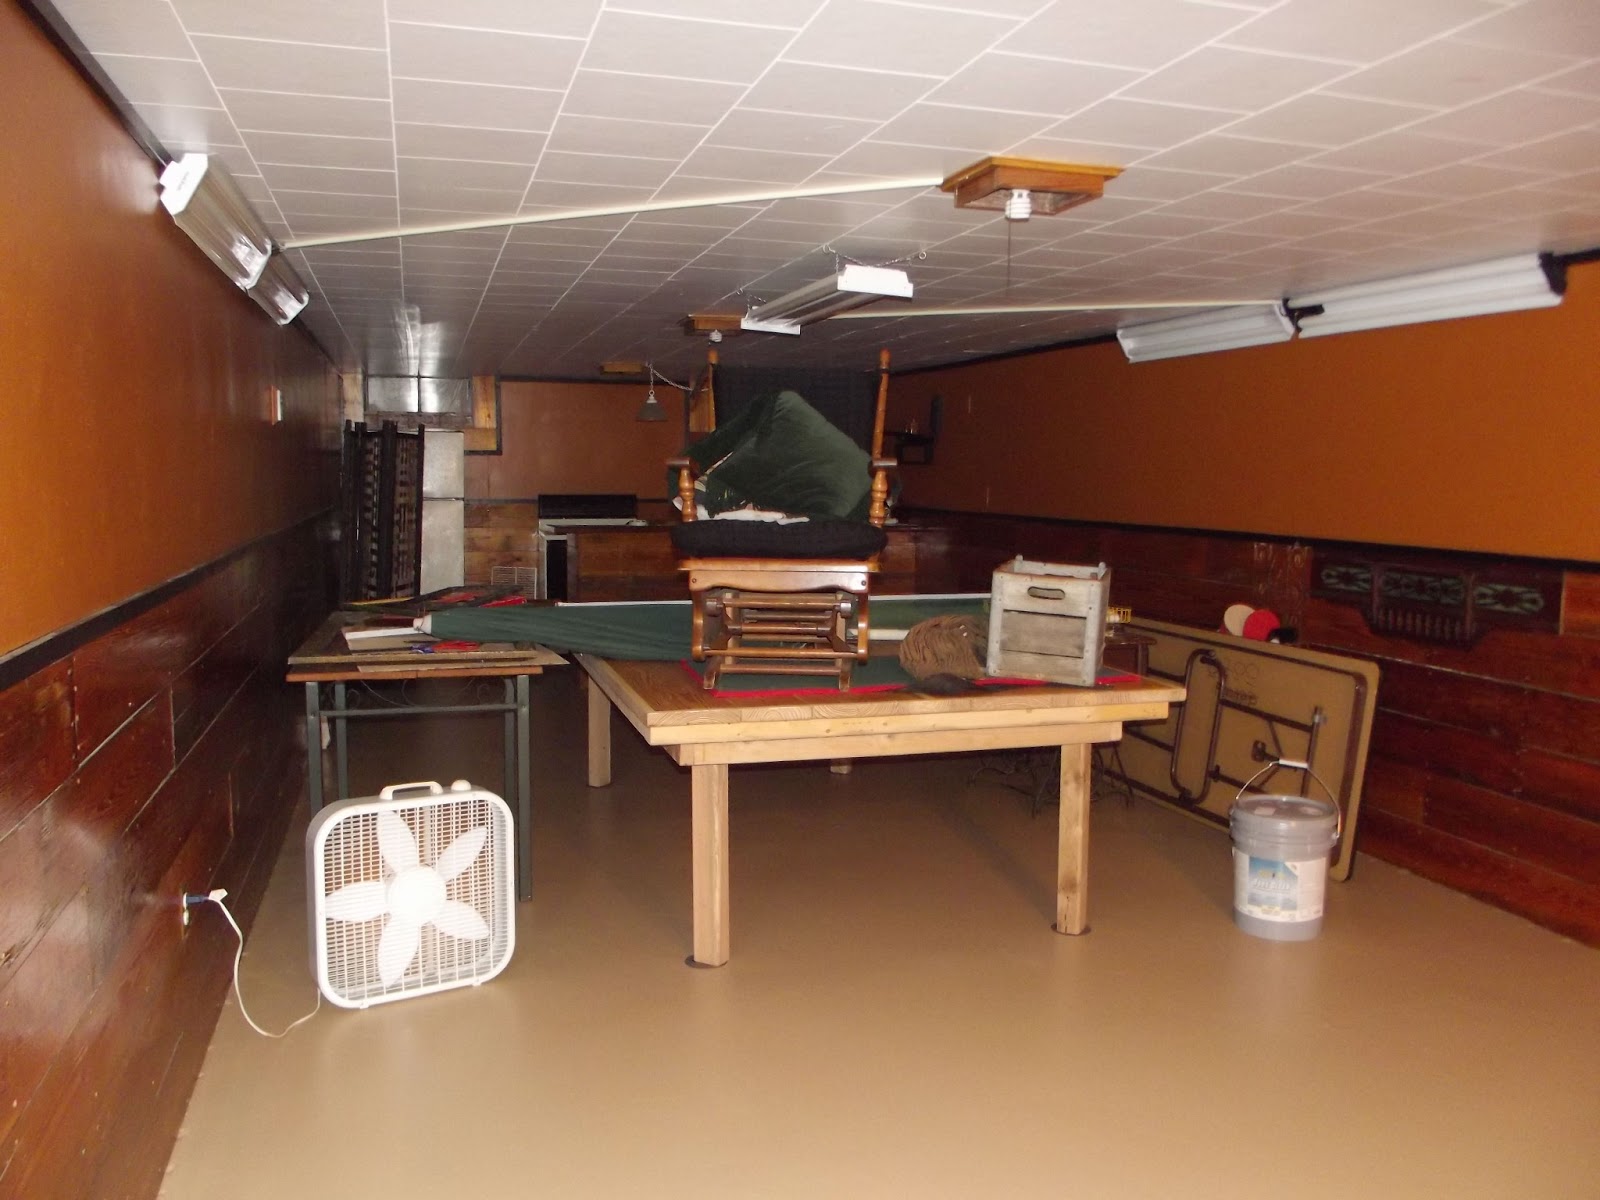
Bill used the sewing room as a sort of staging area for cutting boards when he covered the bottom part of the ping pong room wall with barn wood. What a mess!
We painted the walls of-white and I moved my sewing supplies into that room.


This shot, above, was taken looking north. The washer and dryer are now to the right in this picture. I want to get the orientation right, and have chosen the washer and dryer as a sort of fulcrum for orientation. 
The doorway to the right in this shot leads to the other room in the basement, what shall from henceforth be known as the ping pong room. This area, seen in this shot, would eventually become an office area. The washer and dryer - though not seen in this shot - are to the left of this view.
Looking north again, you can see the window. I changed my sewing stuff around willy nilly for months, trying to get happy and satisfied with my new sewing area, but that washer and dryer were still visible to me as I sewed. I finally decided to ask Bill to build a half-wall to cover my view of the appliances. An artist has to have a nice place to work, right? I use the word 'artist' advisedly: I've been called an artist before but I'll let you decide that for your own self!
After Bill put barn wood in the ping pong room, he had some wood left over, so we build a wall to hide the appliances from the ping pong room. That half-wall is visible in the far reaches of this shot, above.
There's that barn wood half-all....
and below you'll see that half-wall from the ping pong room:
Beautiful barn wood....

The half-wall is peeking out on the right side of this shot, above. Notice that the washer and dryer were still in sight as I sat to sew. (The stove eventtually went into the other, ping pong room, where we have a full kitchen.)
When someone gave my husband a bunch of plywood, he quickly added it to the walls, covering the cement block in my sewing room. The ceiling would be our next project. But in the meantime, I continued to lobby for a half-wall that would hide the washer and dryer...
Ahhh. That's better! Half wall in place . . . .to hide the appliances from view as I work in my sewing room
Paint! Those walls needed some paint! And my thoughts were never far from my latest obsession to-date: lighting. I had to have better lighting in my sewing room......
But first, paint on the plywood would be nice, eh?!
I called these my 'watermelon walls,' and you can see why! I hated that painted trim, and soon came up with a better look for that part of the wall. But back to the watermelon effect: That was accomplished by putting two colors of green in the same roller pan, and rolling them both at the same time. The top part of the wall was painted in an up and down fashion, while the lower part of the wall was scrumbled - I moved the roller in all directions to get the mottled look.
We eventually added two bookcases at the northern end of the room, with room behind them for storage. I eventually, attached fabric-covered wood to the fronts of those bookcases, effectively turning them backwards, so as to hide my fabric stash.
This shot, above, shows the second bookcase. Also seen in these last two shots is the flower border, one I fashioned from copies of a real flower from our garden.
The fabric room divider hides the area behind the bookcases, an area used for storage. 
Somewhere along the line, we added ceiling tiles to cover the joists. During this time, too, I put the word out that I was looking for fluorescent lights. Our son Bob came through: He called one day to let me know he'd seen an ad in his work newsletter; someone had light for sale. Our sons Bob and Allen helped their dad install 28 feet of fluorescent lights along one wall of my sewing room. The tables, seen in the shot above, were covered with floor tiles, to match the black-white-and-color color scheme that was slowly gaining ascendancy in my sewing room.
I think I'll stop here, for this post. I plan to post a second installment of my sewing room metamorphosis. I think I'll call the second portion: And Sew On: More Shots from My Sewing Room.  
For Part II of the sewing room remodel, click on the link below.


Friday, May 4, 2012

Daisy Border

My sewing room has been through m any changes in the past seven years. After we painted the walls two-toned green - with two colors of paint in the same roller pan - I wanted a trim  between the lateral green striped effect on the top part of the wall and the scumbled green on the bottom of the wall. I was not happy with my first attempt to create a border - see photo; that's orange paint applied with a sponge cut in a rough square. At least I had some sort of border, though, right? I eventually decided I wanted a more structured design for a border/trim. So I scanned a real flower from our garden, dropped the scan into a Word Doc, then added a black border around the flower. I printed up a batch of these so I could glue them on the wall....

Trouble was, I had to cover up those ugly orange squares first. For this, I turned to my trusty old friend, brown wrapping paper. I cut the brown paper into strips, then glued it on the wall where I wanted the border to be. Then I glued the flowery squares over the brown paper.


PS: I love working with wallpaper paste; it's fun and easy to use.


Thursday, May 3, 2012

Let There Be Light

We bought and moved into this house in the winter. The yard and environs were as yet unexplored when we moved in because of the deep snow that fell the same week we signed papers to buy this house. Imagine my surprise, then, when I discovered there were windows on the north side of the basement one day when I could finally get out and walk the perimeter of the house.

I was very excited about this discovery and made immediate plans to uncover those windows.
The west  half of our basement was very dark; I knew those windows were invaluable in the scheme of things. 


So while my husband worked to cover the old paneling with barn wood, I took hammer in hand and . . . . . broke through to those heretofore hidden windows. 

As soon as I saw daylight streaming through the first hole I created I knew I was on the right track: 


Bill added some nice trim to our 'new' windows.

What a gift! The once-dark ping pong room was transformed by the uncovering of those two windows.


Wednesday, May 2, 2012

Partition Wall with a Secret

My husband Bill worked tirelessly to put barn wood up on the bottom half of the west side of our two-room basement - he garnered the wood from an old barn, brought it home in his truck, de-nailed it, planed it, and put it on the wall. 

The photo above shows the old paneling in the ping pong room, looking east into the other half of the basement.

Once the barn wood was installed in the  ping pong room, it was time for a less strenuous project, so we opted to put a partition wall in the other room of the basement, using wood left over from the wall project. The new wall hides the utilities - the water softener and the hot water tank, etc. 


The basement has gone through many changes. The photo above represents how the basement looks at this writing. The partition wall looks fabulous - a vast improvement over the view before we installed that wall. And, oh, did I mention that this half-wall holds a secret?

Ah! Storage!! We thought to add storage to the back of that wall. Whoo hoo! Storage!!!!

PS: Look for this area of the basement in future posts; I hope to share the different stages in the development of the east room of the basement. I'll give you a hint: I now refer to that half of the basement as 'my sewing room.

Monday, April 23, 2012

Barn Wood Basement

After we made the mistake of painting over wallpaper in the kitchen with a water-based paint, bubbles covered the wall - lots of little bubbles pocked the painted surface of the walls. So I said to Bill, 'Maybe we could find an old barn that no one wants . . . . and cover that wall with barn wood.' It was a casual comment. Then, some days later, when Bill was driving us to the store, he turned the wrong way! Shortly after this wrong turn, he pointed off into the distance and said, 'Someone told me I could get that barn.' I looked and, sure enough, he was pointing to an old barn.....

Shortly after that, Bill told me he'd talked to the owner of that barn. As it turned out, the barn was going to be buried - that's right, buried - in a couple weeks, and Bill was given permission to take any barn wood he wanted before the barn was buried. He quickly went to work to get wood from that barn. 

One early Sunday morning, I awoke to the sound of a loud noise- a very loud, obnoxious sound. When I investigated, I found Bill planing wood on the driveway. This was the neighbors' first introduction to us, the terrible sound of that planer; the sound filled the otherwise quiet of a Sunday morning. We soon had a lot of barn wood in our garage. There was so much of it that we hastily changed our plans: We would cover the walls in the basement with that beautiful wood.....

When we moved in here, the walls on the west side of the basement were covered with paneling. 

We decided to cover the bottom half of the paneling with barn wood. So Bill got to work. 
[A funny story: Bill used the ping pong table when cutting wood. One day I came home to find that he had cut off part of the table! The next day, when I heard the sound of a saw coming from the basement, I had a fleeting and funny thought occur to me, 'Oh, no! He's cutting off the other end of that table to match!' But he was really fixing the cut with some braces. We used that table for a long time with that scar in it.]

Following photos: The barn wood goes onto the wall


The wall has been painted various colors since the barn wood went in. Here are some random shots. We have a lot of fun, decorating and redecorating......


Below are some photos from a recent redo in the basement: March 2013


It would be a few years later that we finally put barn wood on the wall in the kitchen, the wall that started the whole barn wood thing at our house.
But before the wood finally  made it onto the kitchen wall with the bubbled wallpaper, I had to do something to cover those bubbles. Read about my solution by clicking on the link below. 
And to see what else we did with barn wood, click on this link....