When we bought this house, it was move-in ready. Ha! We spent the next seven years getting it 'ready' for the life we live in it....
Showing posts with label recycled wood. Show all posts
Friday, September 14, 2012
After Bill brought home some wood from an old outbuilding, we found the a perfect base to use for a new work space for storing tools in the workshop. Using the cedar wood from the outbuilding, we soon had wood cut and attached to the wrought iron base. Sanding and a coat of tung oil brought out the beautiful grain of the wood. The new table/shelf unit holds lots of tools; it's just what we needed.... We decided to extend the original work bench, and we topped the new extension with some more of the cedar. After adding some task lighting, the new extension was ready to use and enjoy.
Thursday, May 17, 2012
How To Build a Workshop With Seven Telephone Poles and An Old Boot
After our son Allen used telephone poles to support the lean-to part of his new shed last year, 2011, my husband put out the word that he would be interested in acquiring some old telephone poles. We soon had seven telephone poles laying on our driveway......
Now all we had to do was find a way to use them, right?
We decided to build a stand-alone workshop at the end of the driveway. Excavation for the new building was soon under way.
Before long we had a sort of telephone forest in our yard!
We set the telephone poles in concrete, plumbed them and supported them in position until the cement dried.
Then the floor joists went in.
And a building started to take shape.
Note: The walls were constructed with pallet wood; we had to make the side units in two parts so as to use those short pallet boards.
The roof went up next....
Ah! With a roof over our heads we could now turn our attention to finishing the inside of the new workshop.
Note: The pink post-its on the walls mark where the electrical wires traversed the room.
I installed every bit of the insulation in the walls; Will helped me insulate the ceiling.
There's Will, helping his dad cover the ceiling with particle board.
We covered the insulation with plywood - another recycled part of our new building.
For the walls, I mixed several buckets of paint that we had left over from other projects, and then we trimmed the walls with beautiful wood.
One of the boards we used to cover the walls had a smooth surface, to I marked off an area to use as a chalkboard. A little chalkboard paint and the thing was ready to use.
We were running in front of winter the whole time we worked on this new building. We managed to get the workshop under cover before the worst of winter hit. We had a very mild fall - this was fall of 2011 - and I tell people that the weather was nice through December of that year . . . . because of my prayers, 'Lord, please please help us get this building done before the snow hits'
We built a 16-foot-long workbench, and hung tools and added shelving, etc, to the new building.
The wood for the top of the workbench came from pallets. We don't know what kind of wood it is; all we know is that it's hard wood, and that it's beautiful.
In an effort to integrate the new building into the landscape, we added two trellises to the north side of the workshop.
The window went in last; we chose to add the window after the building was done. Did I mention we were in a rush to erect this building before winter set in?!
Oh, oh! I almost forgot to explain how we used an old boot in this project. Well . . . .
When it came time to run the electrical wiring through the walls, we had to find a way to route the wires around the telephone poles. Right? Son Bob came up with a solution: He grabbed the router and dug holes across the fronts of the poles, creating deep ditches in the wood. It was my job, after all was said and done, to come up with a way to hide those ugly scars.
So I thunk and thunk on this, and I finally hit upon an idea: Why not cover those ditches with felt . . . . from an old boot. And while I was at it, I decided to encrust the felt with beads.
The felt that lines boots is very thick - perfect for my needs. I spread hot glue onto the felt and sunk the glue-laden felt in piles of beads. I then hot-glued the felt to the channels in the telephone poles. Phew! It worked.
The End
Er, should I say, instead, The Beginning - the beginning, that is, of many more project to come.....
Have you done anything creative lately?
Thursday, May 3, 2012
Let There Be Light
We bought and moved into this house in the winter. The yard and environs were as yet unexplored when we moved in because of the deep snow that fell the same week we signed papers to buy this house. Imagine my surprise, then, when I discovered there were windows on the north side of the basement one day when I could finally get out and walk the perimeter of the house.
I was very excited about this discovery and made immediate plans to uncover those windows.
The west half of our basement was very dark; I knew those windows were invaluable in the scheme of things.
So while my husband worked to cover the old paneling with barn wood, I took hammer in hand and . . . . . broke through to those heretofore hidden windows.
As soon as I saw daylight streaming through the first hole I created I knew I was on the right track:
Bill added some nice trim to our 'new' windows.
What a gift! The once-dark ping pong room was transformed by the uncovering of those two windows.
Friday, April 20, 2012
Wood Counter Top: Kitchen
Every time I choose a project to write about for this blog, I think, 'Oh, that was my favorite project!' And if all the projects are my favorites, this is my VERY favorite! No, really!
When we moved into this house, most things were functional and functioning but outdated. The counter tops were no exception. The kitchen counter top was gold-flecked yellow Formica. The speckles were worn off in spots, but the counter top served us well for about two years, till we could come up with something more comely....
Before we redid the counter top in the kitchen, I redid the back splash - with burlap and copper paint.
When Bill planed boards from a barn someone gave him, he found some hard wood in with the pine that made up most of the barn. So he set those boards aside. We both wanted to find a project that would allow us to use and enjoy that beautiful, old hard wood. Then one day it occurred to me that we could cover the kitchen counter top with that hard wood. Before I presented the idea to my husband, though, I had to work out all the details; otherwise he would poo-poo the idea.
One of Bill's protestations, when I presented the wooden counter top idea to him was, 'We'd have to pull out the sink!' I had an answer for that: Apply the wood up over the lip/edge of the sink. I was able to give him answers for all of his concerns, and the project was soon afoot.
We filled the spaces between the boards with home-made putty: I mixed sawdust with wood glue. We glued and screwed the boards in place.
We eventually made trim boards in the same hard wood, using a router. The question we get from nearly everyone, when they first see our counter top is, 'What did you use to finish it?' Tung oil is my answer. It's a shellac that is non-toxic and easy to use. We add another layer of tung oil from time to time: we wash down the counter top and spread the tung oil on with a rag; it takes @ 8 hours to dry.
This house has a full kitchen in the basement. We eventually used wood to redo the counter top in the basement. But that's another story for another day.
Hope all is well at your house. 'Bye for now.
Monday, April 9, 2012
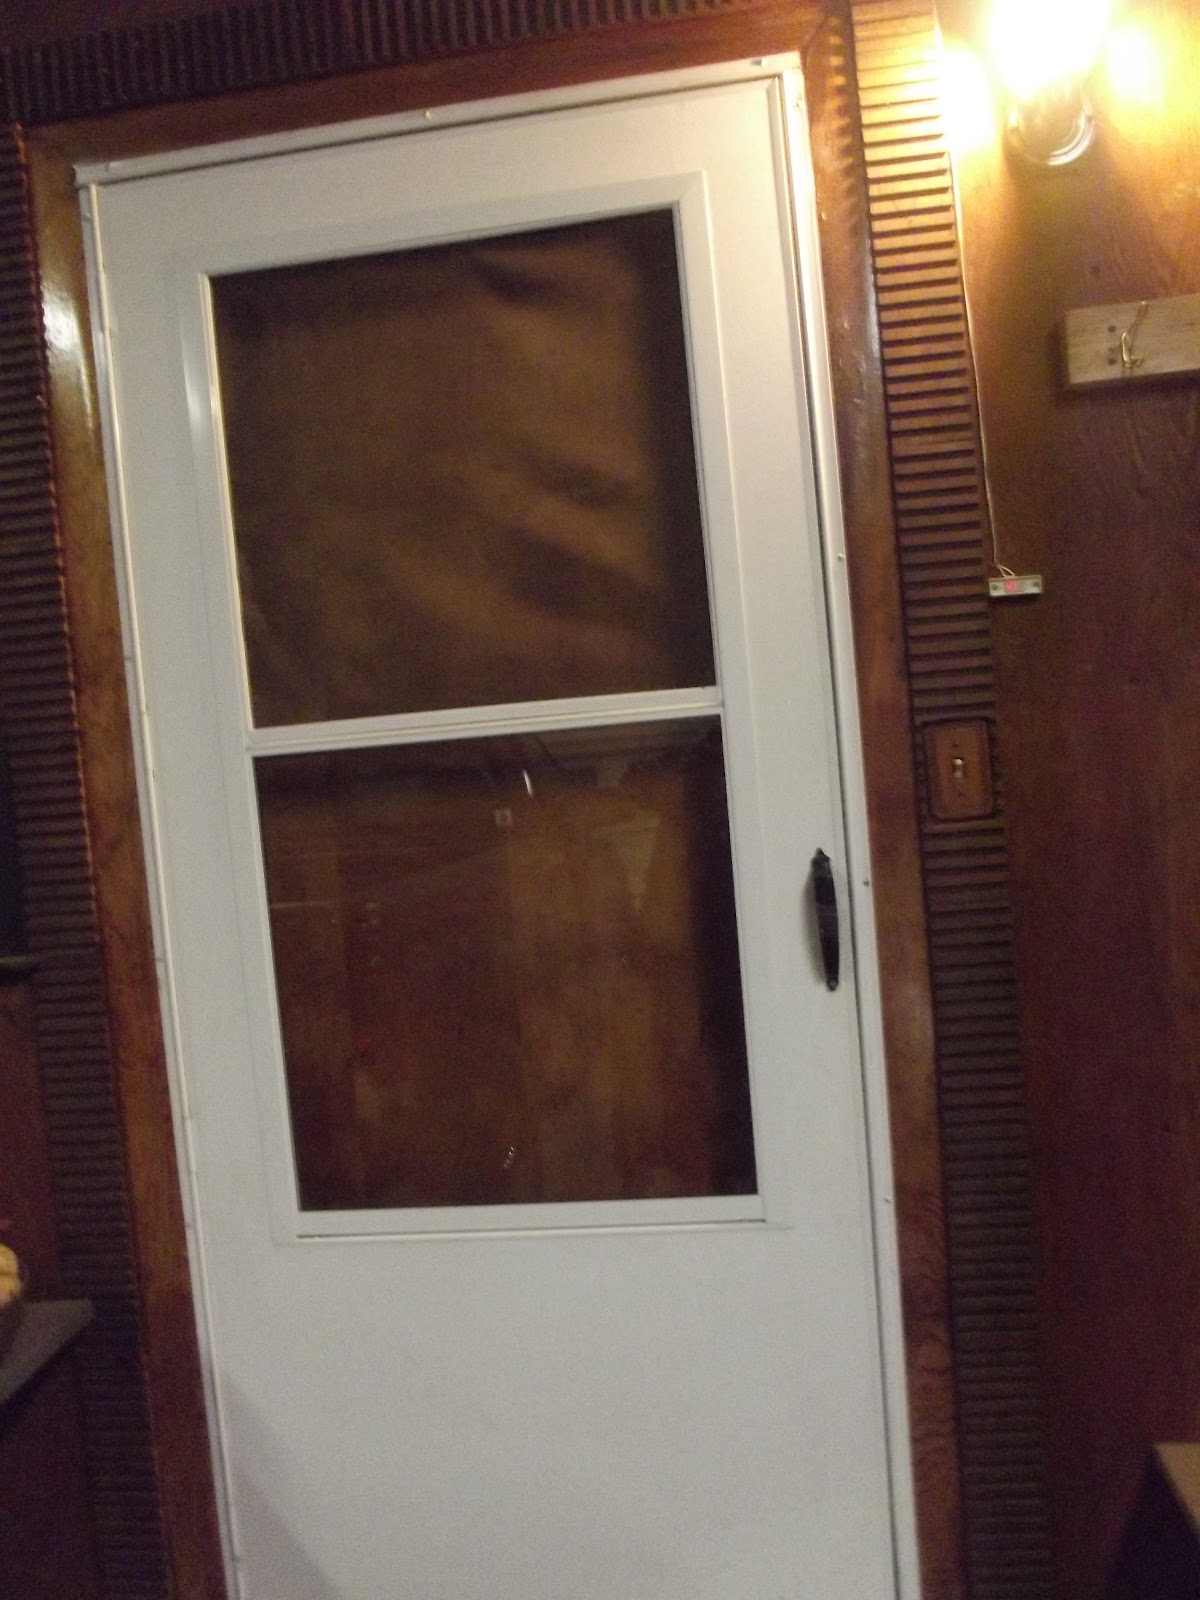
Cassette Box Door Trim
I found three large, old cassette storage boxes at a rummage sale one day - 25 cents each. I just HAD to find a use for that old wood. Here's what I came up with: Trim for the door in the garage....
Subscribe to:
Posts (Atom)


.jpg)
.jpg)