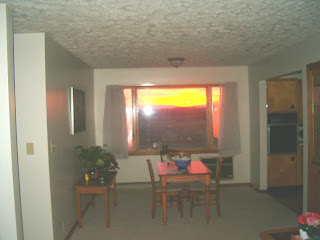
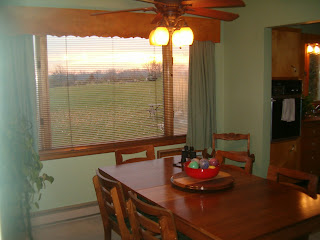
When we first moved here at the tail end of 2004, the walls of the east side of the two-room basement were green. That's my brother Mike helping Bill put together a satellite dish.
Bill used the sewing room as a sort of staging area for cutting boards when he covered the bottom part of the ping pong room wall with barn wood. What a mess!
This shot, above, was taken looking north. The washer and dryer are now to the right in this picture. I want to get the orientation right, and have chosen the washer and dryer as a sort of fulcrum for orientation.
The doorway to the right in this shot leads to the other room in the basement, what shall from henceforth be known as the ping pong room. This area, seen in this shot, would eventually become an office area. The washer and dryer - though not seen in this shot - are to the left of this view.
Looking north again, you can see the window. I changed my sewing stuff around willy nilly for months, trying to get happy and satisfied with my new sewing area, but that washer and dryer were still visible to me as I sewed. I finally decided to ask Bill to build a half-wall to cover my view of the appliances. An artist has to have a nice place to work, right? I use the word 'artist' advisedly: I've been called an artist before but I'll let you decide that for your own self!
After Bill put barn wood in the ping pong room, he had some wood left over, so we build a wall to hide the appliances from the ping pong room. That half-wall is visible in the far reaches of this shot, above.
There's that barn wood half-all....
and below you'll see that half-wall from the ping pong room:
Beautiful barn wood....
The half-wall is peeking out on the right side of this shot, above. Notice that the washer and dryer were still in sight as I sat to sew. (The stove eventtually went into the other, ping pong room, where we have a full kitchen.)
When someone gave my husband a bunch of plywood, he quickly added it to the walls, covering the cement block in my sewing room. The ceiling would be our next project. But in the meantime, I continued to lobby for a half-wall that would hide the washer and dryer...
Ahhh. That's better! Half wall in place . . . .to hide the appliances from view as I work in my sewing room
Paint! Those walls needed some paint! And my thoughts were never far from my latest obsession to-date: lighting. I had to have better lighting in my sewing room......
But first, paint on the plywood would be nice, eh?!
I called these my 'watermelon walls,' and you can see why! I hated that painted trim, and soon came up with a better look for that part of the wall. But back to the watermelon effect: That was accomplished by putting two colors of green in the same roller pan, and rolling them both at the same time. The top part of the wall was painted in an up and down fashion, while the lower part of the wall was scrumbled - I moved the roller in all directions to get the mottled look.
We eventually added two bookcases at the northern end of the room, with room behind them for storage. I eventually, attached fabric-covered wood to the fronts of those bookcases, effectively turning them backwards, so as to hide my fabric stash.
This shot, above, shows the second bookcase. Also seen in these last two shots is the flower border, one I fashioned from copies of a real flower from our garden.
The fabric room divider hides the area behind the bookcases, an area used for storage.
Somewhere along the line, we added ceiling tiles to cover the joists. During this time, too, I put the word out that I was looking for fluorescent lights. Our son Bob came through: He called one day to let me know he'd seen an ad in his work newsletter; someone had light for sale. Our sons Bob and Allen helped their dad install 28 feet of fluorescent lights along one wall of my sewing room. The tables, seen in the shot above, were covered with floor tiles, to match the black-white-and-color color scheme that was slowly gaining ascendancy in my sewing room.
I think I'll stop here, for this post. I plan to post a second installment of my sewing room metamorphosis. I think I'll call the second portion: And Sew On: More Shots from My Sewing Room.
For Part II of the sewing room remodel, click on the link below.


