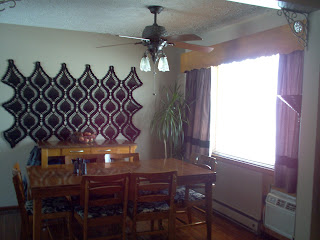
Our dining room has gone through a lot of changes in the past seven years.
After we built a deck just off the dining room, I started to look for a door to replace the dining room window.
I published an ad for the door on a local radio program, Tradio - a format that allows folks in our area to buy and sell things. I got a call from a man who had a door for sale and we went to check it out. We brought the door home and put it in the garage.
We took a break from big projects and did a smaller one: We shortened the dining room table; we would need the extra room a shorter table would provide, to get to the anticipated new door. We found a pedestal-style base at a yard sale, brought it home and painted it black. Then we removed the center insert of the old table and covered the old table [top] with barn wood, center. Voila! We now had a nice table - shorter, yes, but wider.
Shortly after we got the door home and the table shortened, someone loaned us a masonry saw. That thing was HUGE! We picked a day to cut the hole in the house, and we were ready to go.
After the window was removed, it was time to enlarge the hole to accommodate the new door.
It was a very scary thing, watching the beautiful sandstone of this house being assaulted by a saw. I would have taken pictures but I couldn't muster the courage to watch the actual cutting!
The actual installation of the door straddled two days.
Bright and early the second day of the installation, we removed the tarp we'd put over the hole the night before and got busy building a frame for the new door. We rallied the troops: our sons came by to lend a hand off and on throughout the day.
By the end of that second day, we were able to start enjoying the newly-expanded view.
The finish work would take another week - dry-walling, painting, re-installing the cornice and curtains, etc.
In retrospect, I think it's a good thing I didn't know all the ins and outs of what this sort of project entails. I was, like, 'Hey! Let's put a door there!' It wasn't until after the thing was installed that I thought, 'This could have been a disaster!'


.JPG)

